Every Easter, people from around the world take the time to decorate eggs as a seasonal expression connected with fertility and harvests. In the UK, this tradition started thousands of years ago.
Later, the Church embraced the egg with the symbolism of rebirth and new life. During the Middle Ages, eating eggs was prohibited during Lent, making them a much-anticipated delicacy when the 40 days had ended. Because of this, the egg became an exciting part of our Easter celebrations.
So, to get into this tradition, why not decorate your own eggs?
How to prepare your eggs
For temporary eggs: Hard boil your eggs for around 10 – 12 minutes. Keep the shell intact.
For keepsake eggs: Put a small hole into the bottom and top of the egg. Using a sharp needle, break the yolk inside. Hold your egg over a bowl and blow the yolk and egg white out. Gently rinse the shell in warm, soapy water and let it dry completely.
Whichever method you choose, we recommend using white eggs. This way, the colours will pop that much more.
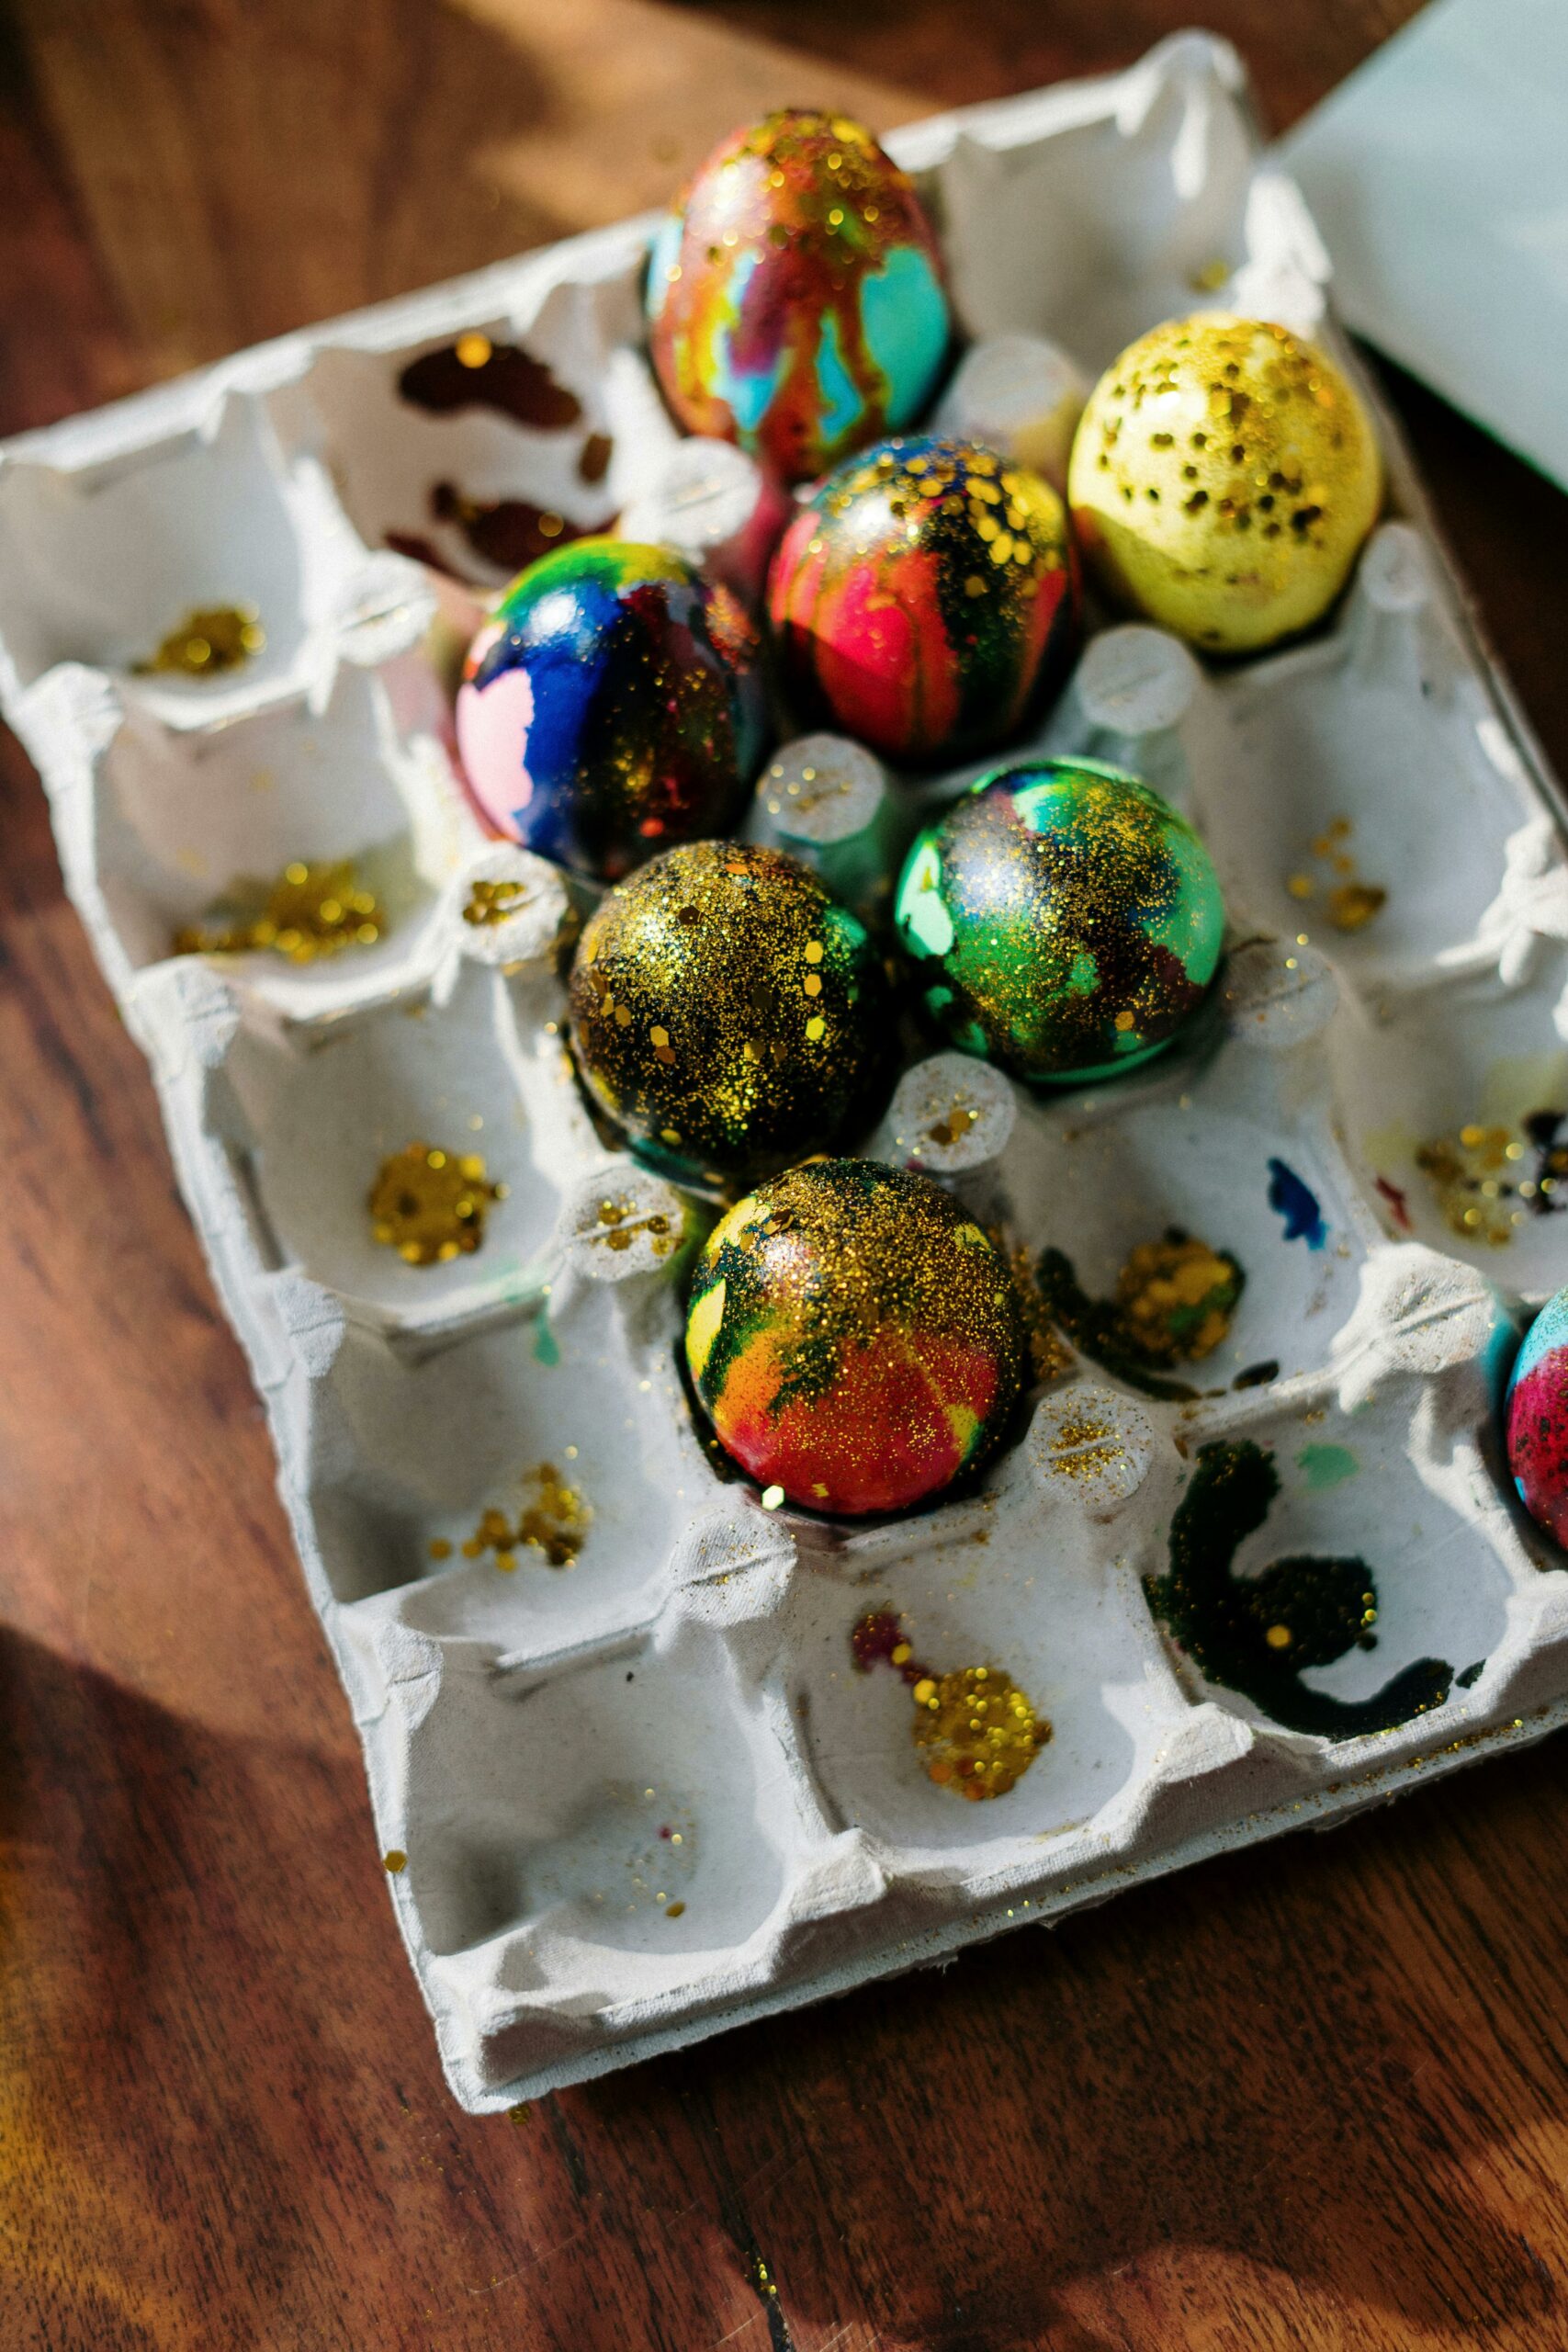
Once your eggs are ready to decorate, it’s time to choose how you want them to look. If you’re decorating eggs with the grandkids, it’s likely you’ll end up with something colourful and full of glitter. If you’re decorating for a seasonal bowl, Easter tree or festive wreath, you might want a more formal design.
Here’s our top 5 Egg Decorating ideas
1. Fun Patterns
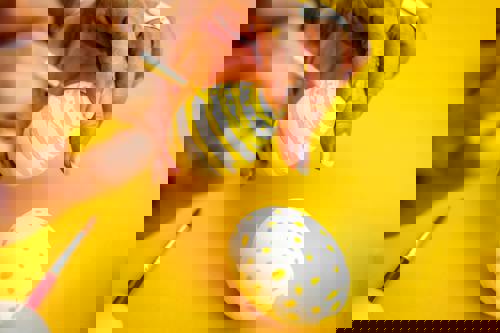
The simplest of designs. Take your favourite paint colours and add stripes, polka dots and any other patterns you can think of.
For this, you will need:
- Paint
- Paint Brushes
Get crafty and get creative. This idea is perfect for adding a pop of colour into your home.
2. Tie-dye
The most fun of our ideas.
Take your egg and wrap it up in some kitchen roll or tissues, tying the ends with rubber bands. Drop different coloured food dyes onto the tissue, leaving some white space between colours. After this, spray the tissue with water until the colours bleed together. Let the tissue dry for between 3 hours and overnight.
For this, you will need:
- Tissue paper
- Rubber bands
- Food colouring
Alternatively, fill a tray with whipped cream or shaving cream. Add drops of food colouring into the cream and swirl everything together with a toothpick. Place your egg into the cream, covering it completely. Let your egg sit for around 20 minutes before removing from the tray and wiping off any excess cream.
- For this, you will need:
- Shaving cream
- Food colouring
- Toothpicks
You can leave the egg as is or let the grandchildren go crazy with glitter and felt tip pens.
3. Marble Effect
This exciting design is easy to accomplish and creates a stunning effect. Paint or dye your egg the colour of your choice. Once dry, fill a container with room-temperature water and add drops of 2-3 colours of nail varnish or acrylic paint to the surface of the water. Use a toothpick to swirl the colours together. Quickly dip your egg into the swirls to coat the shell. Repeat until you have the desired effect.
For this, you will need:
- Paint or dye
- A container
- Water
- 2-3 colours of nail varnish or acrylic paint
- Toothpicks
4. Florals
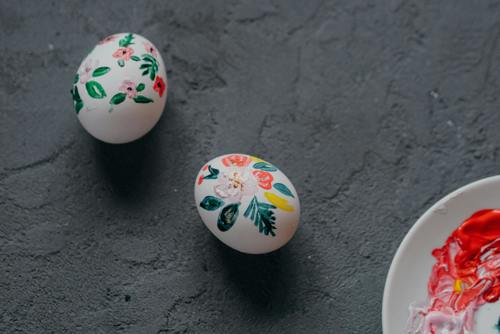
The perfect way to celebrate the spring season is by decorating your egg with flowers and florals! There are a few ways you can craft this design.
Take yourself outside and pick up some wildflowers. Flatten and dry the flowers between a book and then PVA glue the flowers onto your egg.
For this, you will need:
- Flowers
- A book and parchment paper to protect the pages
- PVA glue
Simply paint your flowers on with your favourite paint colours. Take inspiration from your garden or favourite bouquets.
For this, you will need:
- Paint
- Paintbrushes
Make flower stencils with masking tape and stick them onto your egg, then complete the tie-dye or marble effect designs from above. Once the masking tape is removed, you’ll have silhouettes of flowers.
For this, you will need:
- Masking tape
- Scissors
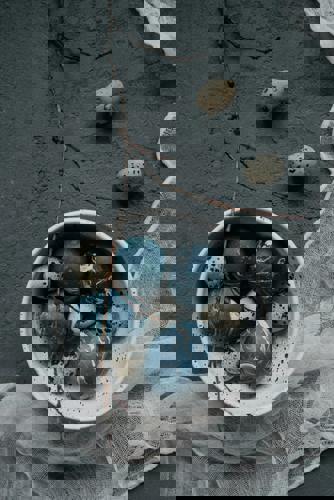
5. Black and white
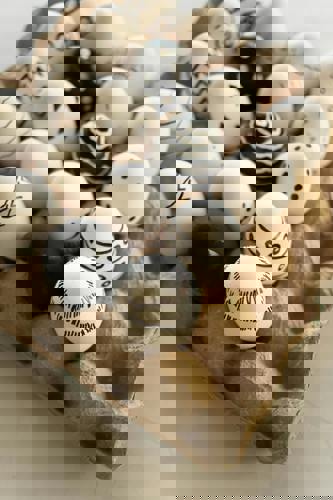
We’ve spoken a lot about colour and making everything as colourful as possible. That might not be your vibe. Take a permanent black marker and get designing. Add squiggles, triangles and polka dots. This design is perfect for a minimalist approach.
For this, you will need:
- Permanent marker
Once your eggs are decorated, you can display them in your home! The eggs could also be used in an Easter egg hunt and (if you got rid of the yolk) used as a keepsake for years to come.
The best part of egg decorating is that you can stay seated in your favourite chair. At HSL, we have a collection of Riser Recliners and Armchairs you can choose from. This way, all your home crafts can be completed in comfort.
For more craft ideas, check out our Feel Good Hub.