How to make eco-friendly Christmas decorations

It’s the time of year again that homes are decorated in all their festive glory. Have you had the same decorations for a few years now? Do you fancy adding a few more to your collection? Whether you’re a lover of arts and crafts or you just like the idea of having a few more nature-inspired items in your home, we’re sharing some how-to guides on making your own eco-friendly Christmas decorations.
Pine cone ornaments
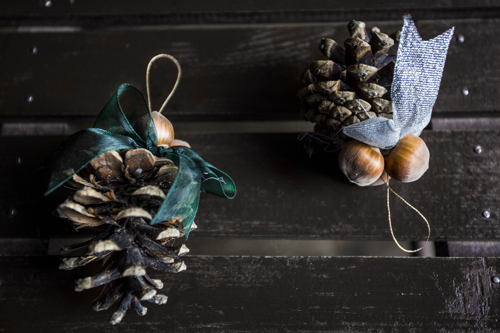
We’ll get started with a nice simple design – something you could make with the grandchildren if you wanted a crafty-filled afternoon with them. Why not go on a winter walk together first to collect the natural supplies?
You’ll need:
- Pinecones
- Thin wire
- Ribbon
- Glue gun or strong craft glue
- Nuts – hazelnuts are pictured, but any small nuts would do.
Method:
Wrap the thin wire around the top of the pine cone and twist it around into a large loop, securing at the base. Now tie your ribbon around the top of your pine cone and wire – ending with a bow. Finally, using the glue gun or craft glue, attach the nuts to the top of the pine cone and ribbon. Allow it to dry completely before hanging it on your tree.
Citrus fruits tree ornaments
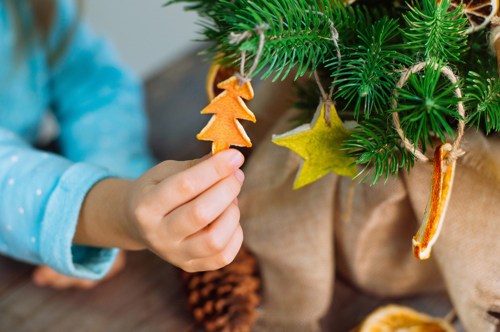
Is there anything more Christmassy than the smell of satsumas? Whether they’re stuffed at the bottom of a stocking or covered in cloves in your mulled wine, they truly bring the magic of the season to your home.
You’ll need:
- Citrus fruits – satsumas, lemons, etc.
- Scissors
- Baking tray
- Greaseproof paper
- String
Method:
Preheat your oven to the lowest setting - usually 90C/200F/Gas mark ¼. Peel your citrus fruits in as large a peel as possible. Cut out the chosen Christmas shape – tree, star etc. with your scissors and cut a hole at the top that’s large enough to let the string pass through – remember the hole will shrink slightly as it dries out, so leave a little extra room.
Cover a baking tray with greaseproof paper and bake in the oven for 30-60 minutes until completely dried out. Thread the string through the hole and tie securely with a knot or bow.
Twig wall-hanging Christmas tree
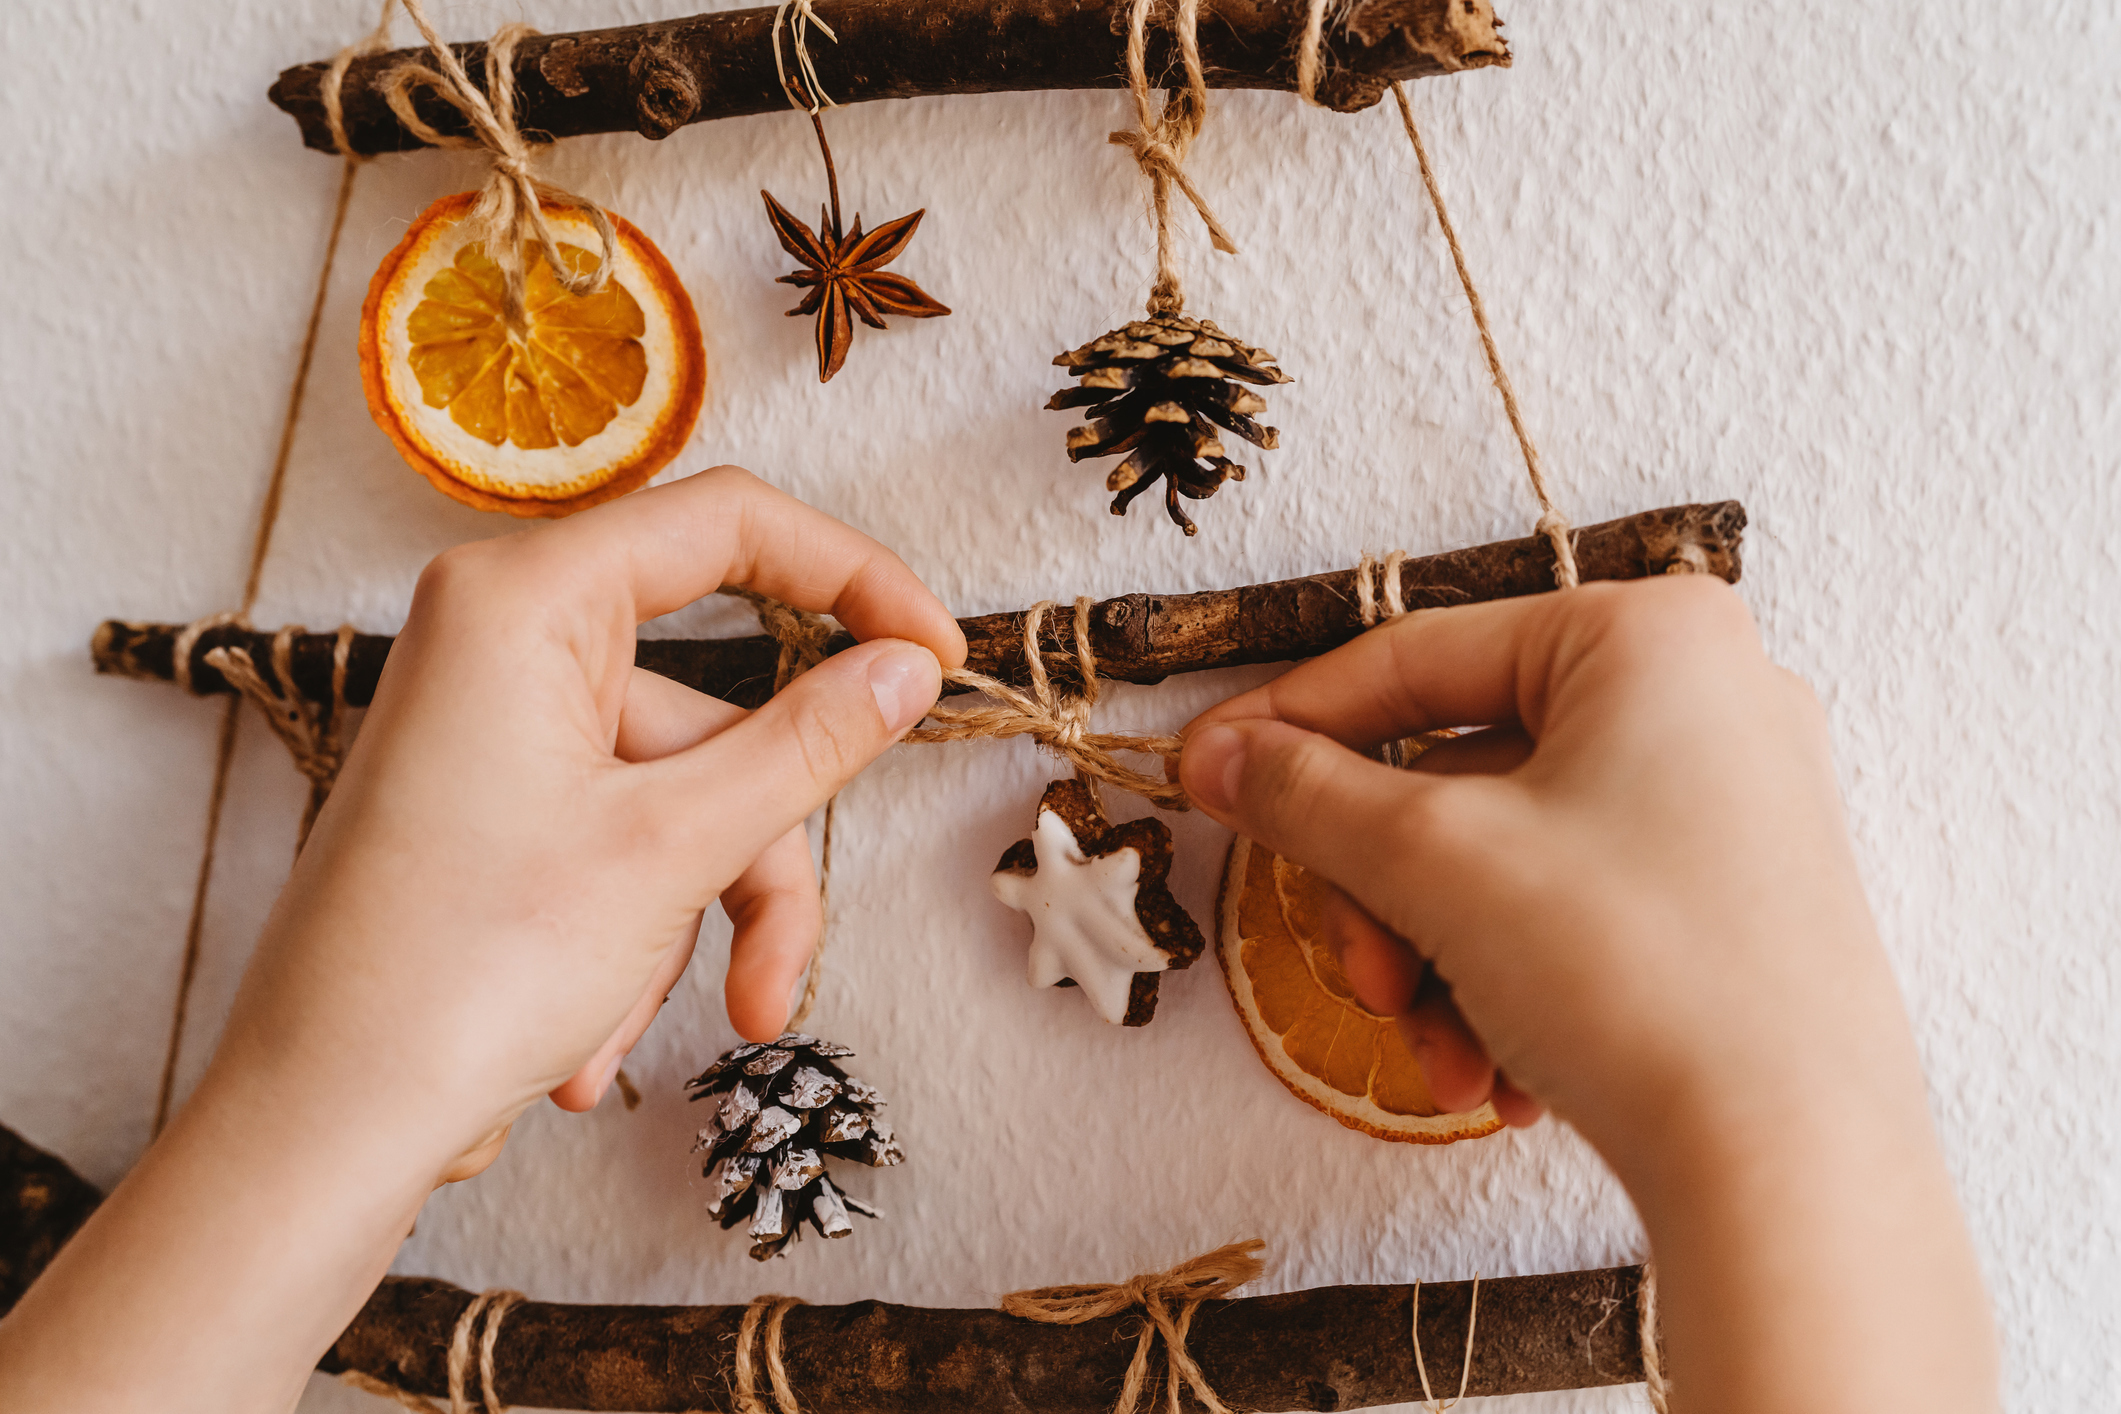
This one is a little more advanced, but if you take the time to get it right, it’s a really eye catching decoration to hang on your wall and will certainly be a conversation starter with your Christmas guests.
You’ll need:
- Thin sticks in various lengths
- A long length of string
- Glue gun or strong craft glue
- Decorations – dried orange slices, wooden stars, small pine cones etc.
- A star for the top – you could make this out of twigs as pictured or simply buy a decoration
Method:
Lay out your sticks on a table with equal distances between each and arrange them in a Christmas tree/pyramid shape. Now it’s time to tie them together using your string; tie the right-hand side of the longest stick securely and then move on to the end of the next longest stick, tie and move up until you’ve reached the shortest stick and tied it. Leave a length of the string of around 20-30cm and then move back down the left side of the sticks (starting with the shortest) until you’ve reached the longest stick at the base.
Attach any decorations you’d like to beautify your Christmas tree/pyramid with – either hang from more string or attach with glue. Finally fix on the star at the very top of the string where it will be hung from.
Potato stamp wrapping paper
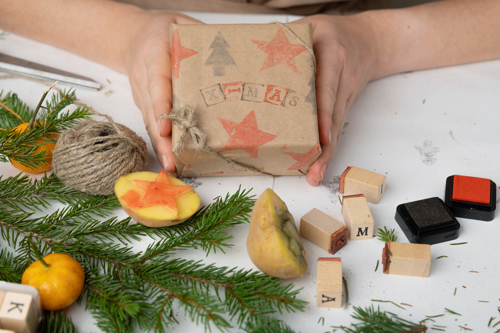
You may have used potato stamps at school as a child, so why not go a bit retro and use them to make eco-friendly and personalized wrapping paper this year? It’s also another activity you could involve the grandchildren in!
You’ll need:
- Brown paper
- Large potatoes - halved
- Shaped cookie cutters (star, tree etc.)
- Paint & a paintbrush
Method:
Press your chosen cookie cutter pattern into the cut end of the potato far enough that it sticks in and doesn’t move. Carefully use the knife to cut around the cutter and then remove it – the pattern should stand out clearly. Pat the potatoes down to remove any excess liquid. The stamp is now ready to use.
With your paintbrush, lightly paint the patterned shape with your chosen colour and press this onto the brown paper. Continue to decorate with your stamps - they can be wiped between colours – until the paper is decorated to your taste. Leave to dry and then use as your festive wrapping paper.
We hope you’ve enjoyed these eco-friendly homemade decorations. If you enjoy being crafty with your grandchildren, you can try out some of the ideas in our blog, Autumn Crafts To Enjoy With the Grandkids.
Sign up for our newsletter
Sign up for our newsletter to hear about our exciting new collections, interior trends, wellbeing advice as well as exclusive offers.


